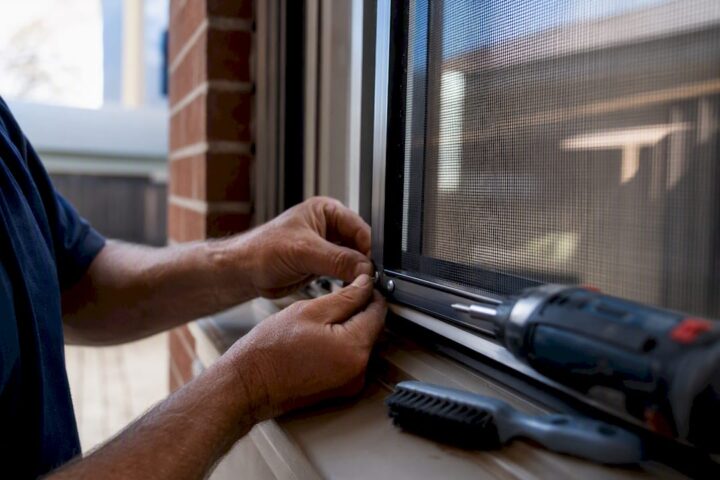
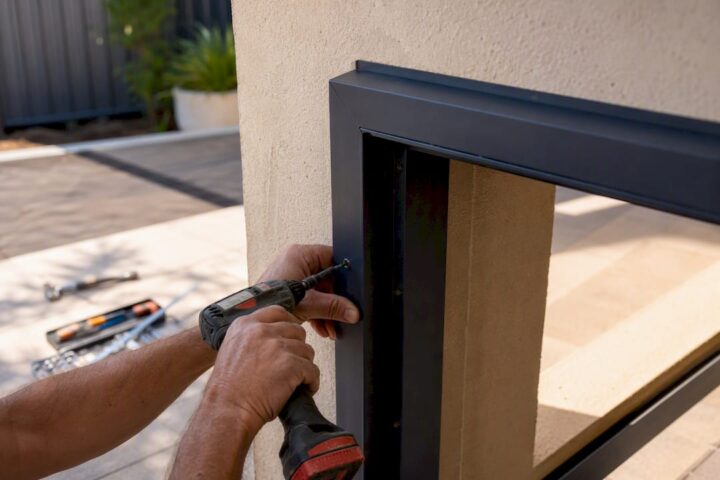
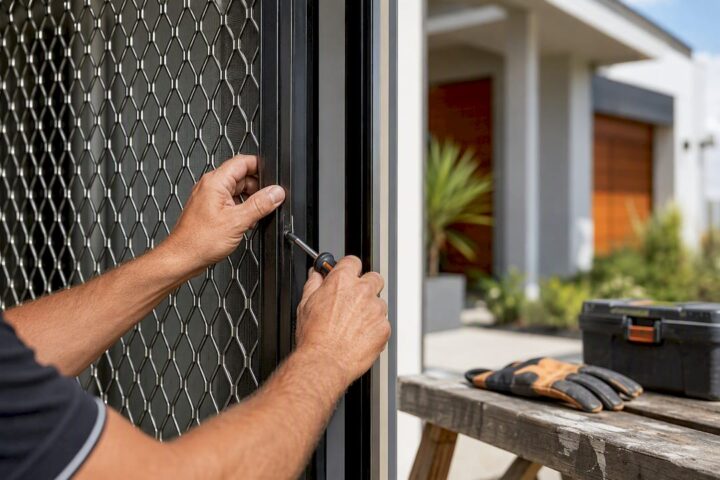
The fastest safe routine is simple: vacuum both sides of the mesh with a soft brush attachment, wash it down with a mild soapy solution, rinse on low pressure, then pat it dry. Budget 5 to 15 minutes per screen, and never remove the screen to do it. The only warning that matters: no pressure washers, no abrasive cleaners.
- Grab a vacuum with a brush attachment or a soft-bristle brush for the dry pass
- Mix a few drops of mild dish soap into warm water for the wash
- Rinse with a garden hose on low pressure, never a pressure washer
- Pat dry with a microfibre cloth and let the frame air out
Key Takeaways
Cleaning a security screen safely without removing it comes down to a soft vacuum pass, a mild soapy wash, a low-pressure rinse, and a full dry, repeated on a schedule matched to your local environment.
| Point | Details |
|---|---|
| Start dry, then wet | Vacuum or brush the mesh before adding any soap or water to avoid grinding grit into the surface. |
| Match frequency to location | Clean coastal screens regularly, urban ones moderately often, and rural ones less frequently according to local environmental conditions. |
| Avoid harsh tools | Skip pressure washers, bleach, ammonia, and abrasive pads, which strip coatings and can void warranties. |
| Escalate carefully for stains | Try repeat mild washes and a baking soda paste before assuming a mark is permanent. |
| Know the warning signs | Torn mesh, bent frames, and lingering lock issues mean it’s time to call a professional. |
Table of Contents
- Tools and products checklist before you start
- Step-by-step cleaning routine for a security screen
- How do you remove stubborn marks or salt deposits?
- How often should you clean security screens?
- What should you never use to clean a security screen?
- When should you call a professional instead?
- Why book a professional clean or repair with Easterndoors
- What actually matters most in a cleaning routine
- Sources
Tools and products checklist before you start
Before you touch the mesh, get your kit together. It saves time and stops you reaching for something harsh halfway through because the right tool wasn’t at hand.
- A vacuum with a brush attachment, or a soft-bristle brush if you don’t have one
- A microfibre glove or cloth, plus a soft sponge for the wash step
- A bucket or spray bottle for your soapy mix, and a garden hose set to low pressure
- Gloves and eye protection, especially if you’re working above head height or near old flyscreens with brittle mesh
Stick to a mild dishwashing liquid or a pH-neutral cleaner. Skip bleach, ammonia, solvents and anything abrasive like scouring powder. These strip protective coatings faster than dirt ever could.
Before you start, lay a towel along the bottom of the frame to catch drips, and keep the door or wall behind the screen protected if you’re working close to painted surfaces.
Pro Tip: Keep a second bucket of clean water on hand just for rinsing your sponge. Dunking a dirty sponge back into your wash water spreads grit across the mesh instead of lifting it off.
Step-by-step cleaning routine for a security screen
Work through these five steps in order, and don’t skip the dry pass at the end. It’s the step most people rush, and it’s the one that matters most for stopping streaks and water spots.
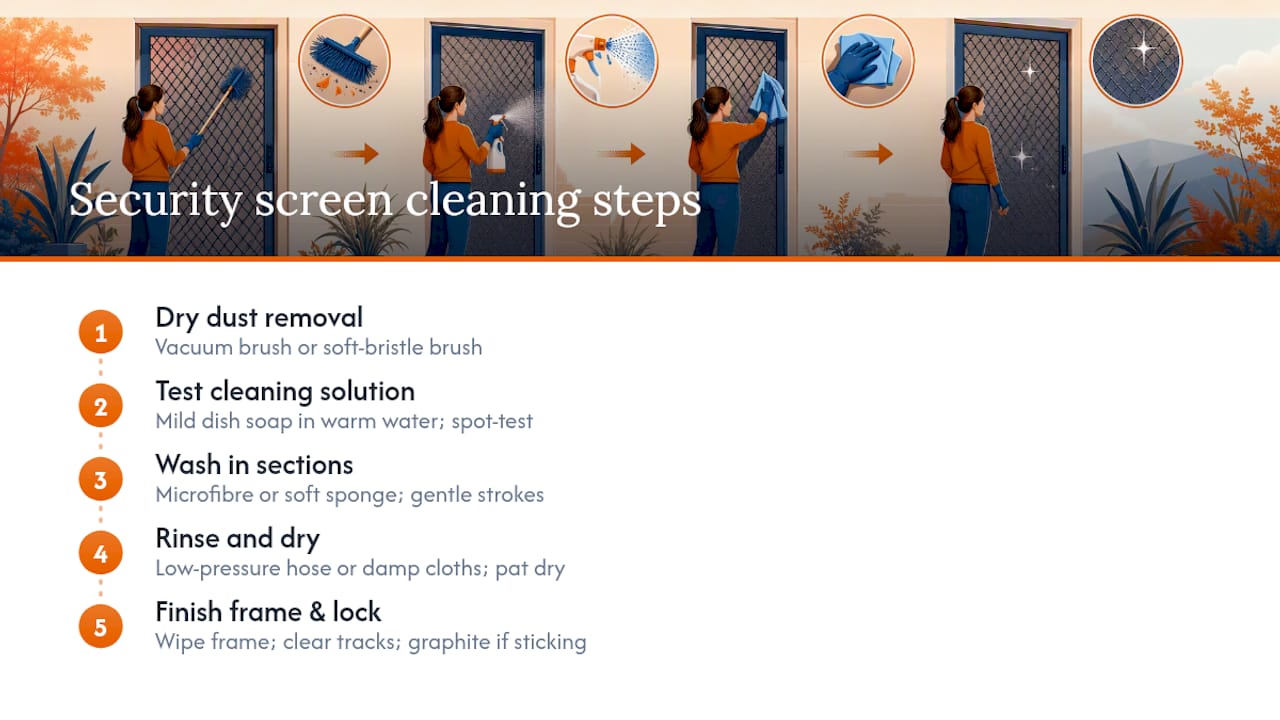
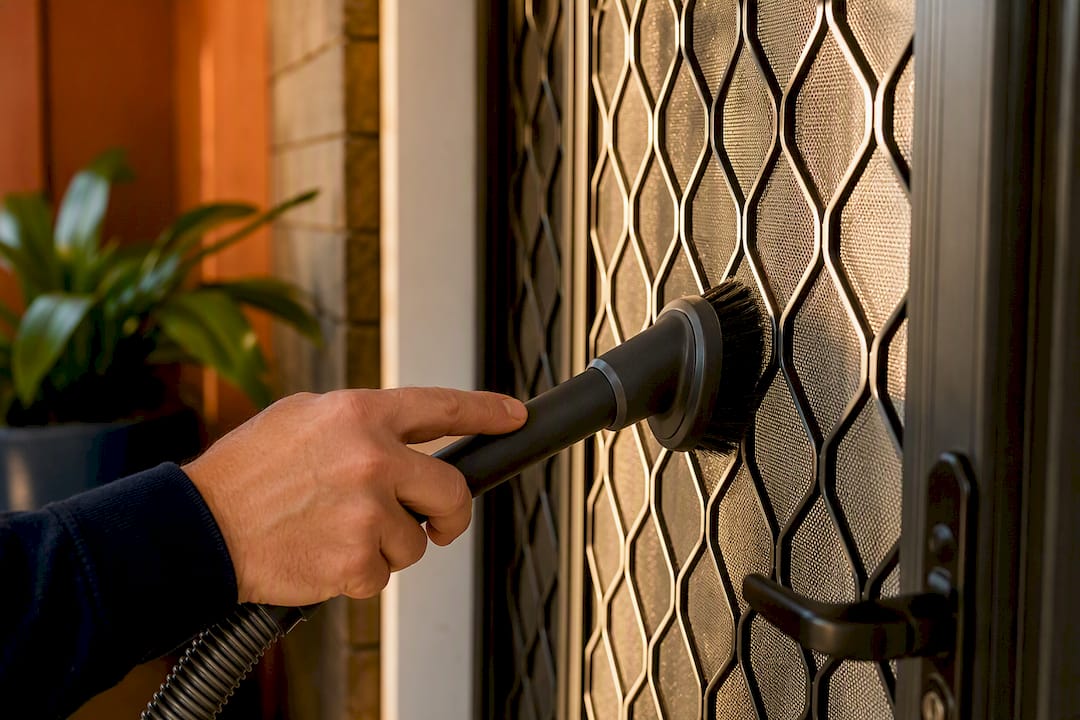
1. Remove loose dust and debris first. Run the vacuum’s brush attachment over both sides of the mesh, moving top to bottom in overlapping passes. If you don’t have a vacuum handy, a soft-bristle brush does the same job, just a bit slower. This dry pass matters more than most people realise: it lifts the loose grit that would otherwise turn into a gritty paste the moment you add water, which is exactly what scratches fine mesh.
2. Mix your cleaning solution and test it first. A few drops of mild dish soap in a bucket of warm water is usually enough. Dab a small amount on an inconspicuous corner of the frame or mesh and check after a minute that it hasn’t lifted or discoloured the finish. This takes thirty seconds and saves you from an unpleasant surprise on a screen you can’t easily replace.
3. Wash in sections with a microfibre cloth or soft sponge. Work across the screen in manageable patches rather than trying to cover the whole thing in one go. Use gentle circular or top-to-bottom strokes, never scrubbing hard enough to bow the mesh. Keep the solution away from hinges, locks and any electronic components if your door has them, since saturating hardware can push moisture into places it doesn’t dry out easily.
4. Rinse thoroughly and start the drying process. A garden hose on its lowest pressure setting works well, or you can wipe the suds off with clean, damp cloths if you’d rather not use a hose at all. A gentle multi-step routine like this one typically runs 5 to 15 minutes per screen. This is a fair trade for keeping the mesh in good shape for years. Pat the surface dry with a microfibre cloth, then leave the screen to air dry fully before closing the door.
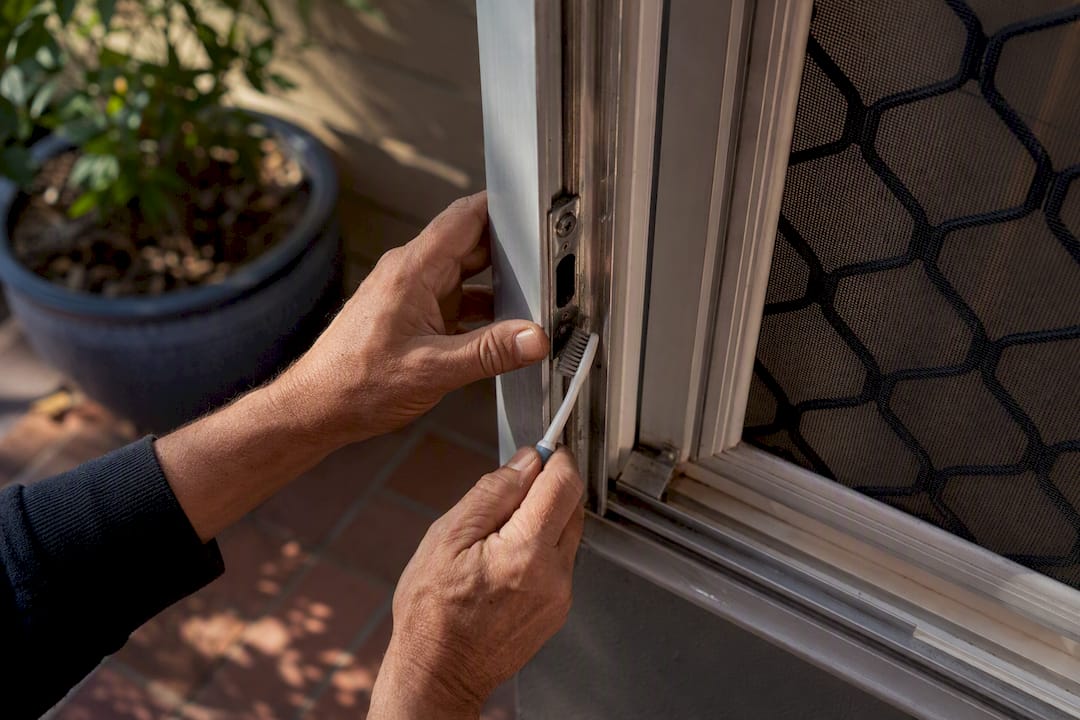
5. Finish with the frame, tracks and lock. Wipe down the aluminium or steel frame with the same soapy solution, then clear any built-up debris from the tracks with a soft brush or an old toothbrush. Check that the lock still turns smoothly. If it’s sticking after cleaning, a small amount of powdered graphite lubricant in the keyway usually fixes it without attracting more dust the way oil-based lubricants do.
Bunnings Workshop contributors who deal with this regularly recommend starting soft, vacuum first, then wash, and only reaching for stronger tools if that combination genuinely doesn’t cut it. It’s advice worth following, because the mesh on most security screens is thinner and more exposed than standard flyscreen, and it shows scratches far more readily.
How do you remove stubborn marks or salt deposits?
Not every mark comes off on the first pass, and that’s fine. Just escalate carefully rather than reaching straight for something aggressive.
- Repeat the mild soap wash two or three times before trying anything stronger
- For grime that won’t lift, work a baking soda paste into a microfibre cloth and use light pressure, it’s abrasive enough to shift residue without scoring the coating
- Rinse coastal properties promptly after salt exposure. Salt shows up as a white, flaky film and eats into coatings if it’s left to sit
- Never use acid-based or rust-removal cleaners on security mesh, even for stubborn orange staining
If a mark still won’t budge after a couple of gentle attempts, or if you notice the coating itself looks pitted, faded in patches, or lifted at the edges, stop. That’s no longer a cleaning problem, it’s a coating or corrosion issue, and further scrubbing usually makes it worse.
Pro Tip: If you’re near the coast and see rust-coloured streaks below screws or fixings, that’s often corrosion starting underneath the coating rather than surface dirt. No amount of cleaning fixes that. It needs a proper look from someone who can assess the metal itself.
How often should you clean security screens?
How often you clean depends almost entirely on where you live. A screen three streets back from the beach collects salt film far faster than one in a quiet inland suburb, and the schedule should reflect that.
After every clean, pat the mesh dry with a microfibre cloth and let it finish air drying with the door propped open rather than shutting it straight away. Trapped moisture in frames and tracks is what encourages mould and corrosion between cleans, not the cleaning itself.
Once it’s dry, run a quick check over the fixings, seals and lock action. A screen that’s clean and well-sealed also does a better job managing airflow through the house without letting dust and insects back in.
What should you never use to clean a security screen?
Manufacturer care guides are consistent on this point: certain products and tools damage powder-coated finishes and mesh fast enough to void a warranty outright.
- No pressure washers. The force strips coatings and can distort fine mesh
- No abrasive pads, steel wool, or scouring powders
- No bleach, ammonia or solvent-based cleaners
- No sanding, scraping or wire brushes to shift stuck-on grime
- Don’t let salt or chlorine residue sit on the mesh, rinse it off promptly
Manufacturer guidance on care and cleaning exists mainly to protect the coating, which is the layer doing most of the work against corrosion. The mesh material matters too. Stainless steel handles a firmer wash than powder-coated aluminium, and fibreglass insect mesh scratches more easily than either, so match your cleaning pressure to the material you actually have. When in doubt, check the strength and material ratings for your specific screen before assuming it can take a firmer clean.
When should you call a professional instead?
Cleaning solves grime. It doesn’t solve structural problems, and pushing on with a scrub brush when something’s actually broken usually makes things worse.
- Mesh that’s torn, sagging, or pulling away from the frame
- A frame that’s visibly bent, warped, or no longer sitting flush
- Hardware that’s damaged, loose, or a lock that keeps binding even after cleaning and lubricating
- Rust or corrosion showing beneath the coating, not just surface grime
A professional inspection checks fit, seal integrity, hardware condition and hidden corrosion, the things you can’t properly assess from the outside. Easterndoors offers repair and inspection services for exactly this situation, and getting a licensed installer to look at it protects any warranty still in place. If you’d rather hand the whole cleaning job over, a specialist like Shine Wise Cleaning also covers screen and window cleaning professionally.
Why book a professional clean or repair with Easterndoors
Regular cleaning keeps a security screen looking sharp and performing the way it should, but it can also expose problems a homeowner isn’t equipped to fix alone, hairline cracks in the coating, hinges that have started to sag, or a lock mechanism that’s worn past a simple lubricant fix. That’s the point to bring in Easterndoors rather than keep scrubbing.
Easterndoors specialises in custom-made security doors and screens, and its repair and inspection service covers exactly the red flags a thorough clean tends to reveal. If your current screen is past the point of a good wash fixing it, it’s also worth browsing the aluminium, steel and stainless steel door range to see what a proper upgrade looks like, particularly if the mesh has been visibly degrading for a while rather than just needing a wipe down.
What actually matters most in a cleaning routine
Most advice on this topic overcomplicates a job that’s genuinely simple. The routine that works, vacuum, mild soap, low-pressure rinse, dry, hasn’t changed in years, and it doesn’t need a specialty product range to execute well. Where homeowners actually go wrong isn’t the wash step, it’s skipping the dry vacuum first and reaching for a hose on full pressure because it feels faster.
The bigger blind spot is frequency. People clean when a screen looks dirty, not on a schedule matched to where they live, so coastal homes end up with salt sitting on the mesh for months at a time, quietly working into the coating. That’s a maintenance failure long before it becomes a cleaning failure.
The most useful thing a homeowner can do is treat cleaning as diagnostic, not just cosmetic. A wash that reveals a bent frame or a binding lock has done its job. Don’t keep scrubbing past that point. That’s when a proper inspection earns its place ahead of another bottle of cleaner.
Sources
- How To Clean Security Screen Doors & Windows – Campbell Window Film
- How to clean front security screen door without removing it
Recommended
- Window security screens: your complete home guide | Eastern Security Doors
- SecureView vs Crimsafe: which screen wins in 2026? | Eastern Security Doors
- Amplimesh vs Crimsafe: which security screen suits your home? | Eastern Security Doors
- Crimsafe vs Invisi-Gard: which is right for your home? | Eastern Security Doors